- HOME
- > BLOG CATEGORY
- 【jQuery】アニメーションウィンドウを実装、animatedModalの使い方

- お知らせ
- NEW 2024.05.16 【CSS】グラデーション色々なパターンを解説!
- お知らせ
- NEW 2024.05.15 【WordPress】親カテゴリーの子カテゴリー一覧を表示する方法
- お知らせ
- 2024.05.09 【レスポンシブデザイン】アニメーションが動かない原因

こんな方に読んでほしい
今回は、アニメーションウィンドウ(モーダル)についての解説になります。
「animatedModal.js」になりますが、今でも簡単で使いやすいプラグインになっております。

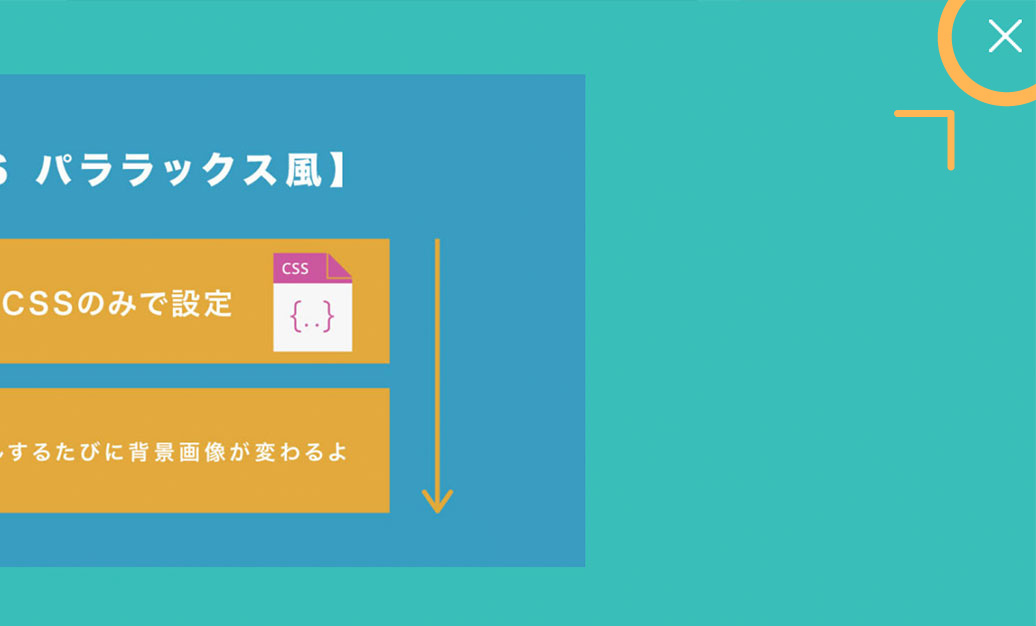
イメージ図は上記のようになります。
以前、モーダルに関する記事を載せましたが、基本同じ使用になっております。
今回の「animatedModal」は、アニメーションが加わり、デザイン性があるモーダルになっております。
下記のリンク先が公式サイトになります。
animatedModal.js公式サイトはこちらから
[記事の内容]

animatedModal.jsとは、アニメーションウィンドウ(モーダル)のことを示します。
jQueryが苦手な方でも問題ありません。
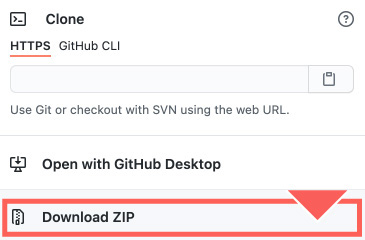
まずは下記のサイトから「animatedModal.js」をダウンロードしましょう。

ダウンロード後に必要なファイルについて解説していきます。
まずは、ファイル名の「animatedModal.js-master」をご確認ください。
<!--css-->
<link rel="stylesheet" href="css/animate.min.css">
<!--js-->
<script src="js/animatedModal.js" type="text/javascript"></script>
また、「animatedModal.js」を使用する際には、animatedModalを使用する宣言をしなければなりません。
以下のコードを合わせて指定しましょう。
<!--js-->
<script src="js/animatedModal.js" type="text/javascript"></script>
<script>
$("#〇〇").animatedModal();
</script>
「animatedModal.js」と繋げて記述するのが良いでしょう。
また、ファイルの階層は、ご自身のフォルダに合わせてください。
次に、jquery本体のプラグイン設置します。
今回は2つ目のパターンを採用して解説します。
● 1つ目は、ファイルをダウンロードして使用するパターン、
● 2つ目は、ファイルをダウンロードせずに、「URL」から読み込むパターンになります。
どちらでも問題ありません。
<!--js-->
<script src="https://code.jquery.com/jquery-3.5.1.min.js"></script>
<script src="js/animatedModal.js" type="text/javascript"></script>
<script>
$("#〇〇").animatedModal();
</script>
必ず、jquery本体のプラグイン上、animatedModalを下に設置しましょう。
jqueryをダウンロードしたい方は、こちらのリンクから。
基本的にはbody内に指定するようにしましょう。
基本構造の書き方は以下のようになります。
<!doctype html>
<html>
<head>
<meta charset="UTF-8">
<title> 【jQuery】アニメーションウィンドウを実装...</title>
<!--css-->
<link rel="stylesheet" href="css/animate.min.css">
</head>
<body>

 コンテンツが入ります。

<!--js-->
<script src="https://code.jquery.com/jquery-3.5.1.min.js"></script>
<script src="js/animatedModal.js" type="text/javascript"></script>
<script>
$("#〇〇").animatedModal();
</script>
</body>
</html>
次に、モーダルの設定について解説します。
デモサイトはコチラから。
基本構造の書き方は以下のようになります。
シンプルなモーダル設定

<a id="demo01" href="#animatedModal">シンプルなモーダル</a>

 <!--モーダル全体-->
 <div id="animatedModal">

  <!--閉じるボタン-->
  <div id="btn-close-modal" class="close-animatedModal">
   <img src="close.gif" alt="" class="closebt"/>
  </div>

  <!--モーダルの中身-->
  <div class="modal-content">
   <div class="thumbnail"><img src="thumbnail.jpg" alt=""/></div>
 </div><!--modal-content-->

</div><!--animatedModal-->
/*--CSSは自由に変更可--*/
#btn-close-modal {
	position: fixed;
	width:100%;
	text-align: right;
	cursor:pointer;
	color:#fff;
	padding-top: 20px;
	padding-right: 20px;
	box-sizing: border-box;
}

/*--下記からはデフォルトになっております--*/
#closebt-container {
	position: relative;
	width:100%;
	text-align:center;
	margin-top:40px;
}

.closebt {
	-webkit-transition: all 0.2s;
	-moz-transition: all 0.2s;
	-ms-transition: all 0.2s;
	-o-transition: all 0.2s;
	transition: all 0.2s;
	cursor:pointer;
}

.closebt:hover {
	transform:rotate(90deg);
}
$("#demo01").animatedModal();親要素は、#animatedModalを指定します。
ここは、a href="#animatedModal"と同じ値にするようにしましょう。
また、今回は「#demo01」をそのまま採用しております。
#btn-close-modalは、閉じるボタンの役割をしています。
.modal-contentは、モーダルの中身の役割をしています。
今回は、画像を入れておりますが、「文字、動画」など入れる事が可能になります。
デモサイトはコチラから。
基本構造の書き方は以下のようになります。
アニメーション設定について

$("#demo01").animatedModal({
	animatedIn:'lightSpeedIn',
	animatedOut:'bounceOutDown',
	color:'#ffb655',
});
HTML、CSSは上記と同じ記述になります。
animatedInは、モーダルを開く際のアニメーションになります。
animatedOutは、モーダルを閉じる際のアニメーションになります。
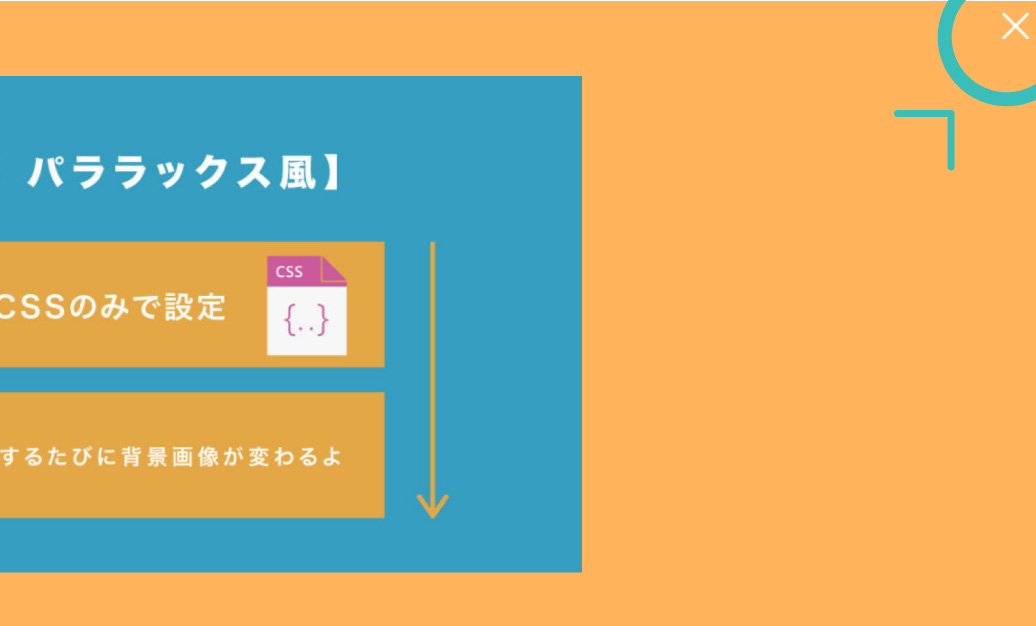
「color」はモーダルの背景色になります。
今回は、「lightSpeedIn」、「bounceOutDown」を採用しましたが、他にも沢山の種類があります。
一度、「animate.min.css」をご確認ください。
背景色、開く、閉じる際にアニメーションなどのオプションをご紹介します。
こちらのサイトで他にも解説しております。
今回はこれで以上です。

2022.05.24

2022.05.10

2022.05.06

2022.04.26
2024.05.15
2024.05.14
2024.05.09
2024.05.09
2024.05.09
2024.05.09
2023.06.15
2022.06.30
2020.03.22
2020.03.06
© 2023 shu-naka-blog